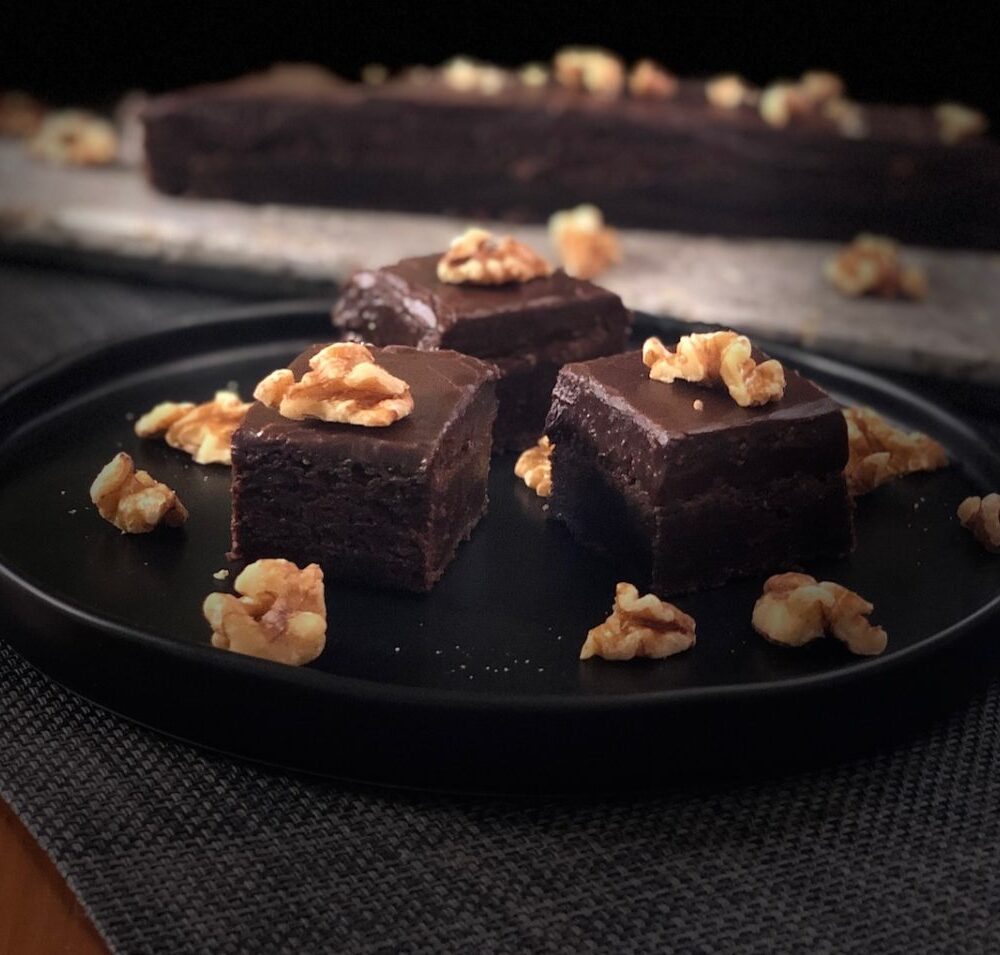
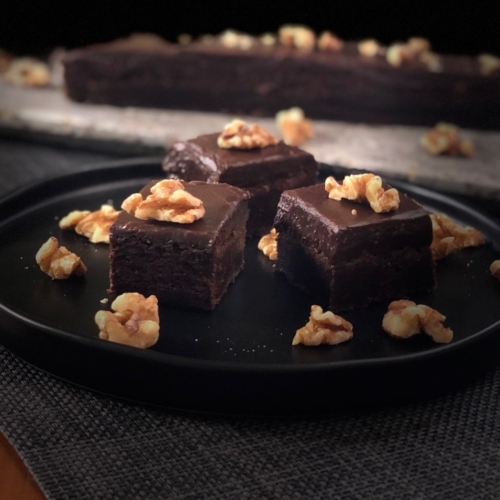
Chocolaty Chewy Frosted Brownies
I loved my Dad's brownies. They were in the "chewy" category, with just a hint of "fudge", and full of toasted walnut pieces. To add even more chocolate, they were frosted with a rich topping that was somewhere between chocolate fudge and chocolate buttercream. These are great any time of the day. Have one, or two with coffee or tea, a glass of milk, or after dinner with a bit a red wine or Port. Oh...and did I mention they are super easy to make. The batter can be mixed in one bowl, and by hand. The baked brownies will last up to 10 days (unless eaten before then). Simple place them in an airtight container and store them in the refrigerator. My granddaughter makes these quite often and does a slight twist. She does not use the frosting, but does add the espresso powder to the brownies. It's a bit less sweet and the the espresso powder adds a rich yet delicate nutty flavor.
Ingredients
For the Brownies
- 6 oz bitter sweet chocolate (171g)
- 7/8 cup unsalted butter (199g)
- 2 cup granulated sugar (398g)
- 2 eggs large grade A
- 1 tsp vanilla extract (4g)
- 1 tsp salt (6g)
- 1/4 cup cocoa (20g)
- 1 1/2 cup all purpose flour (185g)
- 1/2 tsp baking powder (2g)
- 1 cup chopped toasted nuts (110g)
For the Frosting
- 1/4 cup cream (60ml)
- 1 tbsp unsalted butter (14g)
- 3/4 cup granulated sugar (150g)
- 1 tsp espresso powder (4g)
- 1 cup semi-sweet chocolate pieces (150g)
- 3/4 cup milk chocolate pieces (114g)
- 1 tsp vanilla extract (4.3g)
- 1 pinch of salt
Instructions
THE PREP
- 1. Preheat oven to 325 degrees for Convection and 350 degrees for Standard bake.2. Lightly butter a 9" baking pan and line the bottom and sides with parchment paper. It helps in removal of the baked brownies if the paper is long enough to drape over the sides of the pan.
For the Brownies
- Place a medium size mixing bowl over a pan of simmering water. Add the chopped chocolate pieces along with the butter. Let the mixture melt completely, stir to combine the butter and chocolate. Once melted place the bowl on a folded towel. Be careful not to let any of the moisture from the outside of the bowl get to the melted chocolate, as the chocolate could seize.
- While the chocolate if still very warm add the sugar. Keep stirring until the sugar has melted into the chocolate. Allow the chocolate to cool just a bit, (you don't want it to be so hot that it will scramble the eggs) then add the eggs, one at a time, allowing each to be completely absorbed before adding the next. Stir in the Vanilla extract.
- Mix the flour, cocoa powder, salt and baking powder together. Careful to smooth out any lumps of the cocoa powder. Add this, as well as the nuts (if using) to the melted chocolate mixture. Using a rubber spatula, mix to combine all of the ingredients as quickly and gently as possible. Over mixing can result in a tougher texture. Pour the batter into your prepared pan, place on the center rack of your oven and bake for 20 to 25 minutes
- Baking times may vary depending on your pan. If you are using a glass pan, it will bake more quickly than a metal pan. There are several ways to test when they are done, one would be to insert a cake tester. For these brownies, you want it to come out slightly moist with a bit of crumb attached. They will continue to bake a bit once removed from the oven, so removal should be made slightly before they are done. You don't want to over bake them.
For the Frosting
- Place the cream, butter, sugar, salt and espresso powder in a medium sauce pan. Bring the mixture to a simmer and allow to cook until the sugar has dissolved. Be careful that it does not burn on the bottom or the lower rim of the pan.
- Once the sugar has dissolved completely, remove from the burner, dump in all the chocolate pieces and stir vigorously until the chocolate has melted and the frosting is smooth and satin like. Now stir in the vanilla extract.
To Put it All Together
- Allow the frosting to cool just a bit (about 10 minutes), then pour over the top of the warm brownies. This is important....The brownies must still be warm when you pour over the frosting. If the brownies are allowed to cool completely, the frosting will simply "peel" off the top. Let the frosted brownies set in the baking pan until completely cool, then lift out of the pan using the edges of the strips of parchment paper as handles. If the frosting is still quite soft, you may want to chill in the refrigerator before cutting the brownies into squares. The easiest way to cut the brownies is to use a long, thin sharp knife, and dip or rinse the knife blade in warm water between each cut. Use a damp rag to clean off any bits of chocolate.
- Store the brownies in the refrigerator in an air-tight container in a single layer, or on a platter covered with plastic wrap. They will last up to ten days.