Bacio - Kissing Cookies
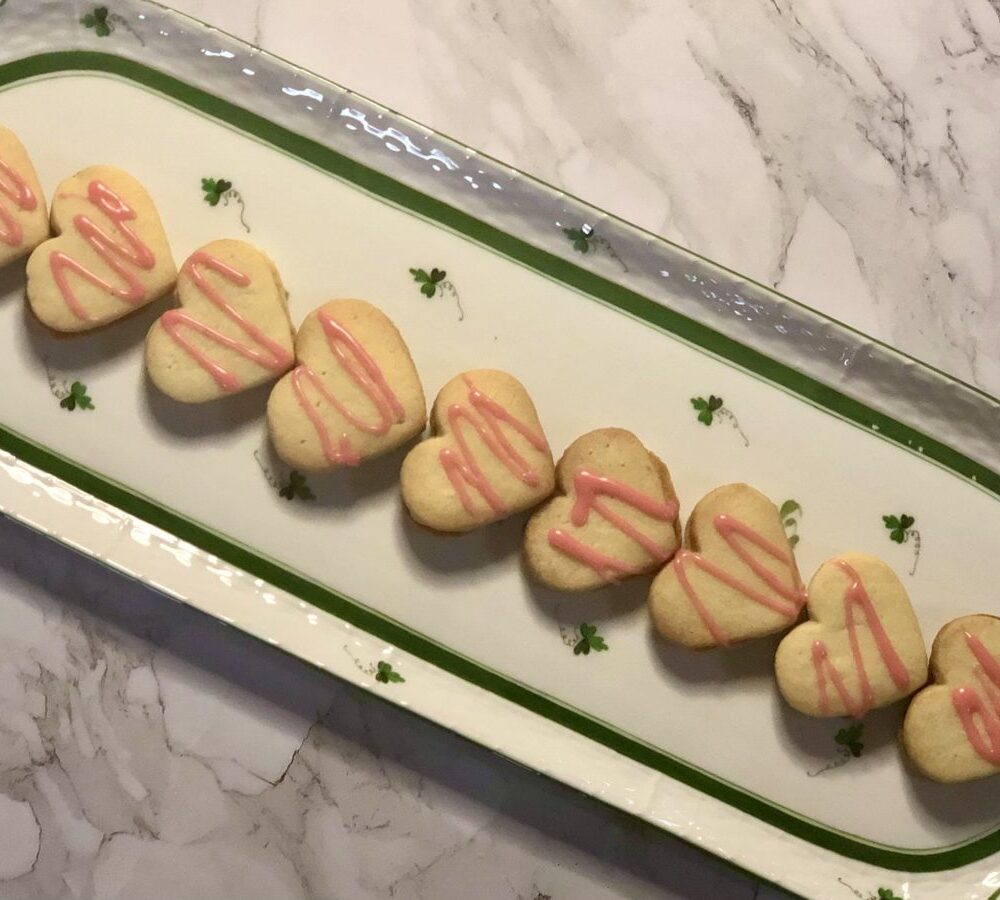
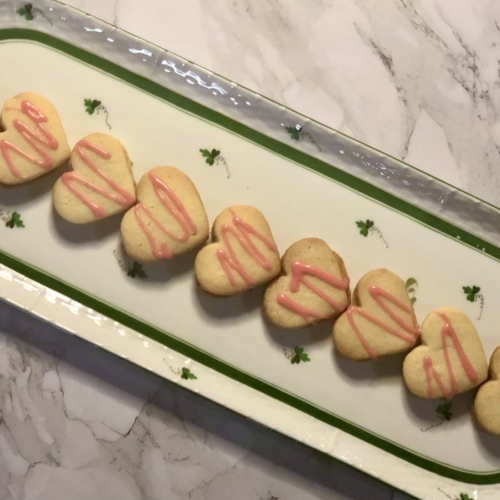
My family made these cookies for every season. Shaped as hearts, shamrocks, Easter eggs, turkeys and Christmas trees, and were filled, flavored, and frosted to fit each holiday. The two sides are held together by the filling, thus the name "Bacio" which is "kiss" in Italian. The recipe is really basic, and you can use your creative side to make them your family favorite. Try orange extract and orange zest, or lemon. Top with a drizzle of lemon fondant, or chocolate. Just remember, what makes these cookies so crispy, "melt in your mouth", is the thickness. Keep them no more than 1/4" or slightly less thick. You can also eliminate the filling and serve as a single cookie, either plain, topped with chopped nuts, or a flavored fondant.
Ingredients
The Cookie
- 1/2 cup powdered sugar (50g)
- 1/2 cup granulated sugar (100g)
- 1 cup European style unsalted butter (228g)
- 1 egg yolk
- 1 tsp vanilla extract (4.3g)
- 1/2 tsp salt (3g)
- 2 cup all purpose flour (240g)
Filling #1
- 1/2 cup semi-sweet chocolate chips (85g)
- 1/4 cup whipping cream (60ml)
- 1 tsp instant Espresso powder (3g)
Filling #2
- 1/2 cup white chocolate chips (85g)
- 1/4 cup whipping cream (60ml)
- 1/8 tsp peppermint extract (1g) or a flavor of your choice
Instructions
Directions for the cookie
- Preheat the oven to 325° degrees for Convection and 350° degrees for Standard Bake.Line two baking sheets with parchment paper.
- Add both sugars and the room temperature butter to the bowl of your mixer. Using the paddle attachment, mix at medium speed for one minute, or until it forms a smooth, light mixture. Add the vanilla extract and egg yolk, and mix until those ingredients are completely combined.
- Whisk the salt with the flour, then add to the butter/sugar mixture. Turn the mixer on to low speed for 30 seconds, stop and, using a rubber spatula, scrape down the sides. Mix again at low speed for another 30 seconds, or until all ingredients are combined and form a smooth dough.
- Scrape the dough onto a sheet of plastic wrap, shape in to a disk, cover and chill for at least one hour.
- When the dough has chilled, place on a lightly floured work surface (I like to use a pastry cloth), and place a sheet of plastic wrap over the top. Roll the dough out to 1/4" or slightly less thick, and cut into the desired shape. Gather the scraps of dough, form in to a ball, place the plastic wrap over the top, roll out and cut the remainder of the pieces. If the dough becomes to soft, place it back in the refrigerator for 15 to 20 minutes.
- Place the cookies on your baking sheet and bake on the center rack of your preheated oven. Bake for 12 minutes or until the cookies are a light golden brown around the edges.
- Note** an option - if you prefer to not use a shaped cookie cutter, you can also divide the dough into two equal parts. Roll each piece into a log shape about 1.5" in diameter, wrap the log in plastic wrap and chill for at least one hour. When it is chilled, slice the dough into little rounds 1/4" or slightly less thick.
Directions for Filling #1
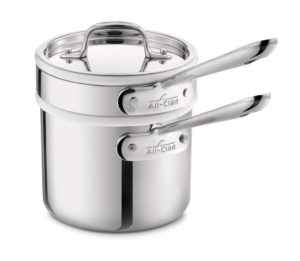
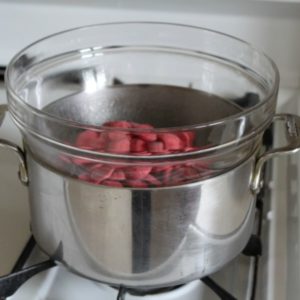
- Fill the bottom of your double boiler with water (if you don't have a double boiler a sauce pan with a bowl - see photo) and place over low heat, and bring to a simmer.
- Place the chocolate chips, or coarsely chopped chocolate, along with the cream and instant espresso in the top portion. Or, if you are using a sauce pan, place these ingredients in a bowl that will fit the top of your sauce pan, as illustrated below.
- With the water at a constant simmer allow the chocolate to slowly melt. Use a rubber spatula to combine the melting chocolate with the cream and instant espresso.
- Continue to stir until the chocolate is smooth and shiny. Remove and allow to cool a bit before "sandwiching" or "kissing" the baked and cooled cookies.
Directions for Filling #2
- Using the ingredients for filling #2, follow the same directions you used for filling #1.
Assembling the Cookies
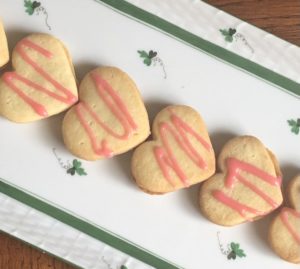
- When the cookies are cool, and the fillings are warm, but still fluid it's time to assemble. On the bottom side of one cookie place a dollop of the chocolate filling and top with the bottom side of a second cookie. Repeat this process with filling #2 - the white chocolate filling. Just think of an Oreo cookie, it's exactly the same procedure. As the filling cools, it hardens and the two cookies are firmly joined. If you have any filling left, just drizzle over the top of each, as shown in the photo. I added a tiny drop of food coloring to the white chocolate/peppermint filling to drizzle over the tops of the cookies.
- Store the cookies in an air tight container. Raw dough may also be frozen for up to one month.